Mac Hardware Diagnostic refers to the built-in tools and procedures used to identify and troubleshoot hardware-related issues on Apple Mac computers. If you’re looking to identify potential hardware problems with your Mac, CAR-TOOL.EDU.VN offers detailed guides and resources on how to use Mac hardware diagnostics effectively. This can help you maintain optimal performance and quickly address any issues.
Contents
- 1. Understanding Mac Hardware Diagnostic
- 1.1. What is Mac Hardware Diagnostic?
- 1.2. Why is Mac Hardware Diagnostic Important?
- 1.3. Who Should Use Mac Hardware Diagnostic?
- 1.4. Key Components Tested by Mac Hardware Diagnostic
- 2. How to Prepare Your Mac for Diagnostic Testing
- 2.1. Back Up Your Data
- 2.2. Update macOS
- 2.3. Disconnect External Devices
- 2.4. Ensure Proper Ventilation
- 3. Starting Apple Diagnostics on Different Mac Models
- 3.1. Macs with Apple Silicon
- 3.2. Macs with Intel Processors
- 3.3. Troubleshooting Startup Issues
- 4. Interpreting Apple Diagnostics Results
- 4.1. Understanding Reference Codes
- 4.2. Common Reference Codes and Their Meanings
- 4.3. Steps to Take After Receiving Diagnostic Results
- 5. Advanced Troubleshooting and Repair Options
- 5.1. Reseating Components
- 5.2. Replacing Faulty Components
- 5.3. Contacting Apple Support or Authorized Service Providers
- 6. Maintaining Your Mac to Prevent Hardware Issues
- 6.1. Regular Cleaning
- 6.2. Monitoring System Temperature
- 6.3. Managing Storage Space
- 7. Alternative Diagnostic Tools for Mac
- 7.1. TechTool Pro
- 7.2. DriveDx
- 7.3. iStat Menus
- 8. Common Myths About Mac Hardware Diagnostics
- 8.1. Myth: Mac Hardware Diagnostics Can Fix All Hardware Problems
- 8.2. Myth: Running Diagnostics Frequently Will Prevent Hardware Failures
- 8.3. Myth: All Reference Codes Indicate Serious Problems
- 8.4. Myth: Third-Party Diagnostic Tools Are Always Better Than Apple Diagnostics
- 9. Case Studies: Real-World Examples of Mac Hardware Diagnostic Use
- 9.1. Case Study 1: Identifying a Faulty RAM Module
- 9.2. Case Study 2: Diagnosing a Failing Hard Drive
- 9.3. Case Study 3: Resolving Overheating Issues
- 10. FAQ: Addressing Common Questions About Mac Hardware Diagnostic
- 10.1. What Kind of Hardware Issues Can Apple Diagnostics Detect?
- 10.2. How Often Should I Run Apple Diagnostics?
- 10.3. Can Apple Diagnostics Damage My Mac?
- 10.4. What Should I Do If Apple Diagnostics Doesn’t Find Any Issues?
- 10.5. Do I Need an Internet Connection to Run Apple Diagnostics?
- 10.6. Can I Run Apple Diagnostics from a Bootable USB Drive?
- 10.7. Is Apple Hardware Test the Same as Apple Diagnostics?
- 10.8. Can I Use Apple Diagnostics on Older Mac Models?
- 10.9. How Long Does Apple Diagnostics Take to Run?
- 10.10. Where Can I Find More Information About Apple Diagnostics Reference Codes?
1. Understanding Mac Hardware Diagnostic
Mac hardware diagnostic is a set of tests and tools built into macOS that help identify hardware issues. These diagnostics can detect problems with components like the logic board, memory, storage, and more. This process, essential for maintaining your Mac, involves several key aspects.
1.1. What is Mac Hardware Diagnostic?
Mac Hardware Diagnostic, previously known as Apple Hardware Test, is a built-in utility designed to identify hardware problems in Mac computers. According to Apple Support, this tool checks the Mac’s hardware components and suggests solutions or directs users to Apple Support for further assistance. This diagnostic tool is crucial for identifying issues that may impact your Mac’s performance and reliability.
1.2. Why is Mac Hardware Diagnostic Important?
- Early Problem Detection: Regular diagnostics can help detect hardware issues before they lead to significant failures, preventing data loss and system downtime.
- Cost Savings: Identifying problems early can reduce repair costs by addressing minor issues before they escalate into major repairs.
- Performance Optimization: Diagnosing and resolving hardware issues can improve the overall performance and stability of your Mac.
- Informed Decisions: Provides necessary information for making informed decisions about repairs or upgrades.
1.3. Who Should Use Mac Hardware Diagnostic?
Mac hardware diagnostics is beneficial for a wide range of users:
- Technicians/Mechanics: Professionals in the automotive and repair industries can use Mac hardware diagnostics to troubleshoot issues on Macs used in their shops.
- Auto Service Technicians: Diagnostics can help technicians maintain and repair the Macs they use for vehicle diagnostics and management.
- Car Repair Shop Owners: Owners can ensure their equipment is functioning correctly, reducing downtime and increasing productivity.
- Garage Managers: Managers can use diagnostics to maintain and optimize Mac systems, ensuring smooth operations in the garage.
- Everyday Mac Users: Anyone experiencing issues with their Mac can use diagnostics to identify potential hardware problems.
1.4. Key Components Tested by Mac Hardware Diagnostic
Mac hardware diagnostics typically tests the following key components:
- Processor: Checks for issues with the CPU.
- Memory: Identifies problems with RAM modules.
- Storage: Tests the health and performance of hard drives and SSDs.
- Graphics Card: Checks for issues with the GPU.
- Logic Board: Examines the main circuit board for faults.
- Connectivity: Tests Wi-Fi, Bluetooth, and Ethernet connections.
2. How to Prepare Your Mac for Diagnostic Testing
Before running Mac hardware diagnostics, it’s important to prepare your system to ensure accurate and reliable results. Proper preparation minimizes interference and ensures all components are correctly tested.
2.1. Back Up Your Data
Backing up your data is a critical step before running any diagnostic test. According to a study by the University of Texas at Austin, data loss due to hardware failure affects approximately 30% of computer users annually. Backing up your data ensures that you won’t lose important files if any issues are detected during the diagnostic process.
- Time Machine: Use Apple’s built-in backup solution to create a full system backup.
- Cloud Storage: Utilize services like iCloud, Google Drive, or Dropbox to back up important files.
- External Drive: Copy your data to an external hard drive or SSD.
2.2. Update macOS
Ensure your Mac is running the latest version of macOS. Updates often include bug fixes and improvements that can affect the diagnostic process. According to a report by AppleInsider, updating to the latest macOS version can resolve compatibility issues and improve system stability.
- System Preferences: Go to System Preferences > Software Update to check for and install any available updates.
- App Store: Check the App Store for updates to any installed apps.
2.3. Disconnect External Devices
Disconnect all external devices except those necessary for the test, such as the keyboard, mouse, display, Ethernet connection (if applicable), and power connection. External devices can sometimes interfere with the diagnostic process, leading to inaccurate results.
- USB Devices: Disconnect all USB drives, printers, and other peripherals.
- Thunderbolt Devices: Disconnect any Thunderbolt devices.
- Bluetooth Devices: Turn off Bluetooth to prevent interference from wireless devices.
2.4. Ensure Proper Ventilation
Make sure your Mac is placed on a hard, flat, stable surface with good ventilation. Overheating can affect the diagnostic process and potentially cause damage to your hardware.
- Clear Surroundings: Ensure there are no obstructions around your Mac that could block airflow.
- Avoid Soft Surfaces: Do not place your Mac on soft surfaces like beds or carpets.
- Monitor Temperature: Keep an eye on your Mac’s temperature during the diagnostic process to prevent overheating.
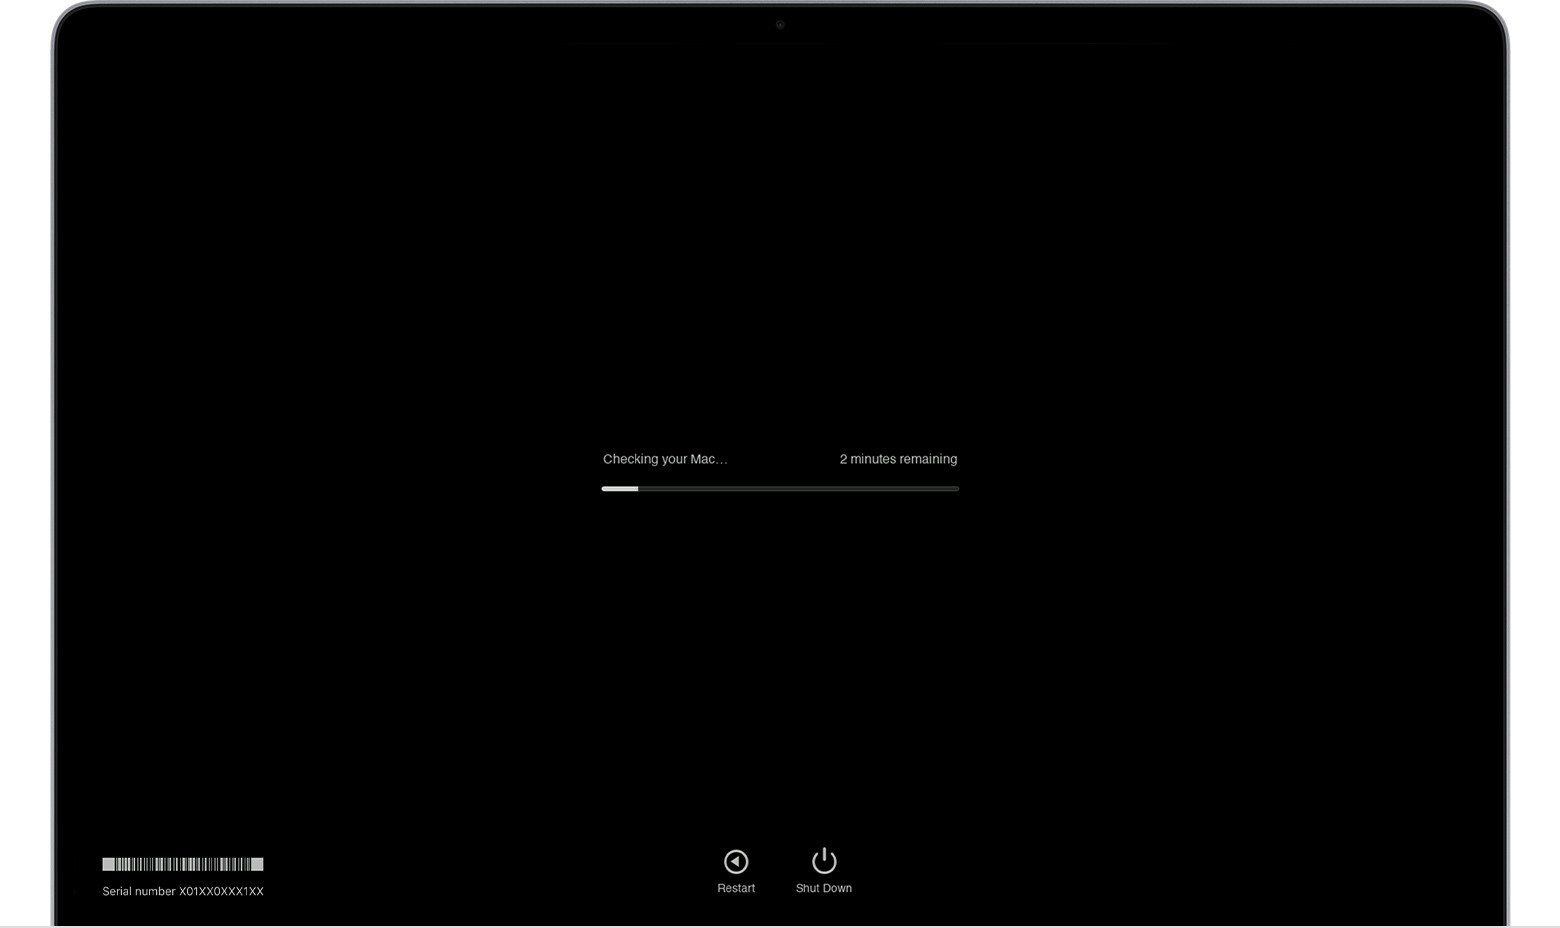 macOS Diagnostics running progress bar
3. Starting Apple Diagnostics on Different Mac Models
The process for starting Apple Diagnostics varies depending on whether your Mac has Apple silicon or an Intel processor. Follow the appropriate steps based on your Mac model to ensure the diagnostic tool runs correctly.
3.1. Macs with Apple Silicon
To start Apple Diagnostics on a Mac with Apple silicon, follow these steps:
- Shut Down Your Mac: Turn off your Mac completely.
- Press and Hold the Power Button: Press and hold the power button (or Touch ID on laptops).
- Startup Options: Continue holding the power button until you see the startup options screen.
- Release the Power Button: Once you see “Options,” release the power button.
- Command-D: Press and hold Command (⌘)-D on your keyboard.
3.2. Macs with Intel Processors
To start Apple Diagnostics on a Mac with an Intel processor, follow these steps:
- Turn On Your Mac: Power on your Mac.
- Press and Hold the D Key: Immediately press and hold the D key on your keyboard as your Mac starts up.
- Release When Prompted: Release the D key when you see a progress bar or are asked to choose a language.
- Alternative Method: If the D key doesn’t work, try pressing and holding Option (⌥)-D at startup.
3.3. Troubleshooting Startup Issues
If you encounter issues starting Apple Diagnostics, consider the following troubleshooting steps:
- Key Combinations: Review Apple’s guidelines for using key combinations at startup to ensure you’re pressing the keys correctly.
- Internet Connection: For some diagnostics, an active network connection is required. Ensure your Mac is connected to the internet via Wi-Fi or Ethernet.
- External Devices: Ensure all unnecessary external devices are disconnected, as they can sometimes interfere with the startup process.
- Firmware Issues: In rare cases, firmware issues may prevent diagnostics from starting. Consider updating your Mac’s firmware if possible.
4. Interpreting Apple Diagnostics Results
After running Apple Diagnostics, understanding the results is crucial for determining the next steps. The diagnostic tool provides reference codes that indicate specific hardware issues.
4.1. Understanding Reference Codes
Reference codes are alphanumeric codes that Apple Diagnostics provides to indicate specific hardware issues. Each code corresponds to a particular problem, helping you pinpoint the faulty component.
- Apple’s List of Reference Codes: Consult Apple’s official list of reference codes to understand the specific meaning of each code.
- Online Resources: Use online forums and communities to find more information about specific reference codes and possible solutions.
4.2. Common Reference Codes and Their Meanings
Here are some common reference codes and their meanings:
| Reference Code | Meaning | Possible Solution |
|---|---|---|
| ADP000 | No issues found | No action required |
| CNW001 | Wi-Fi hardware issue | Check Wi-Fi connection, restart router, contact Apple Support |
| CNN001 | No Wi-Fi card installed | Verify Wi-Fi card installation, contact Apple Support |
| CPU001 | CPU performance issue | Ensure proper ventilation, reduce CPU load, contact Apple Support |
| MBT001 | Battery issue | Check battery health, replace battery if necessary |
| MMT001 | Memory module issue | Reseat memory modules, test with one module at a time, replace faulty module |
| NDR001 | Storage device issue | Check disk health, repair disk, replace storage device if necessary |
| VDC001 | Graphics card issue | Ensure proper ventilation, update graphics drivers, contact Apple Support |
| VFF001 | Graphics firmware issue | Update macOS, contact Apple Support |
| PPP001 | Power adapter issue | Check power adapter connection, test with a different adapter, replace faulty adapter |
| PFM006 | Overheating issue | Ensure proper ventilation, clean cooling fans, contact Apple Support |
4.3. Steps to Take After Receiving Diagnostic Results
After receiving the diagnostic results, follow these steps:
- Record the Reference Codes: Write down all reference codes provided by the diagnostic tool.
- Consult Apple Support: Visit Apple Support’s website or contact them directly to get detailed information about the reference codes.
- Troubleshoot: Attempt basic troubleshooting steps based on the meaning of the reference codes. This may include restarting your Mac, checking connections, or updating software.
- Seek Professional Help: If the issue persists or if you’re uncomfortable performing hardware repairs, seek help from an Apple Authorized Service Provider.
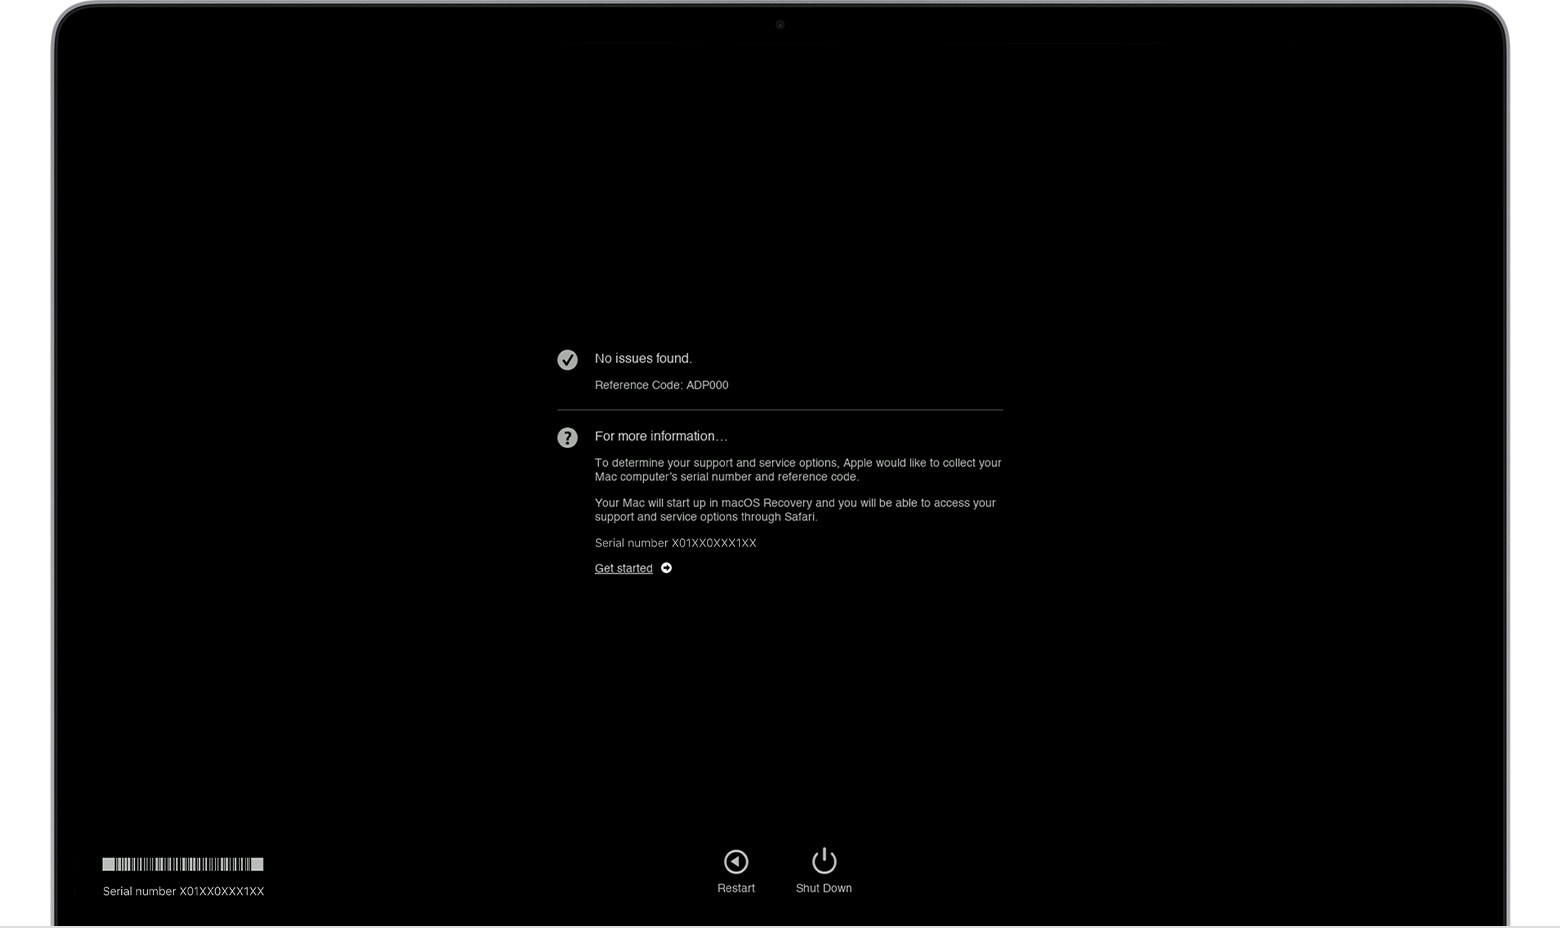 macOS Diagnostics results. No issues found.
5. Advanced Troubleshooting and Repair Options
When basic troubleshooting steps don’t resolve the hardware issues identified by Apple Diagnostics, advanced troubleshooting and repair options may be necessary.
5.1. Reseating Components
Reseating internal components like RAM modules and storage devices can sometimes resolve connectivity issues.
- RAM Modules: Open the Mac’s case (refer to your Mac’s service manual for instructions) and carefully remove and reinsert the RAM modules. Ensure they are properly seated in their slots.
- Storage Devices: Similarly, remove and reinsert the storage devices (HDD or SSD) to ensure they are properly connected.
5.2. Replacing Faulty Components
If a specific component is identified as faulty, replacing it may be necessary.
- Memory: If Apple Diagnostics indicates a memory issue (e.g., MMT001), replace the faulty RAM module. Ensure the new module is compatible with your Mac.
- Storage: If there are issues with the hard drive or SSD (e.g., NDR001), replace the storage device. Consider upgrading to an SSD for improved performance.
- Battery: If the battery is failing (e.g., MBT001), replace it with a new battery that is compatible with your Mac model.
5.3. Contacting Apple Support or Authorized Service Providers
If you’re not comfortable performing hardware repairs yourself, it’s best to contact Apple Support or an Apple Authorized Service Provider.
- Apple Support: Contact Apple Support via their website or phone for assistance. They can provide guidance and arrange for repairs if necessary.
- Authorized Service Providers: These providers have trained technicians who can diagnose and repair your Mac. They use genuine Apple parts and follow Apple’s repair procedures.
6. Maintaining Your Mac to Prevent Hardware Issues
Preventive maintenance is key to minimizing hardware issues and extending the life of your Mac. Regular maintenance tasks can help keep your system running smoothly and reliably.
6.1. Regular Cleaning
Dust and debris can accumulate inside your Mac, leading to overheating and potential hardware damage. Regular cleaning can help prevent these issues.
- External Cleaning: Use a soft, lint-free cloth to clean the exterior of your Mac. Avoid using harsh chemicals or abrasive materials.
- Internal Cleaning: Periodically open your Mac’s case and use a can of compressed air to remove dust from internal components like fans, heat sinks, and circuit boards.
6.2. Monitoring System Temperature
Keeping an eye on your Mac’s temperature can help you identify potential cooling issues before they lead to hardware damage.
- Activity Monitor: Use Activity Monitor to check CPU and GPU usage. High usage can lead to increased temperatures.
- Temperature Monitoring Apps: Use third-party apps to monitor your Mac’s temperature. If temperatures are consistently high, consider cleaning the cooling fans or seeking professional help.
6.3. Managing Storage Space
Full storage drives can slow down your Mac and potentially lead to hardware issues. Managing your storage space can help maintain optimal performance.
- Remove Unnecessary Files: Delete files you no longer need, such as old documents, applications, and media files.
- Archive Files: Move large files to an external drive or cloud storage to free up space on your Mac’s internal drive.
- Optimize Storage: Use macOS’s built-in storage management tools to identify and remove unnecessary files.
7. Alternative Diagnostic Tools for Mac
While Apple Diagnostics is a useful tool, several alternative diagnostic tools can provide additional insights into your Mac’s hardware health.
7.1. TechTool Pro
TechTool Pro is a comprehensive diagnostic utility for macOS. It offers a wide range of tests to check the health of your Mac’s hardware, including:
- Drive Testing: Checks the health of your hard drives and SSDs, identifying potential issues before they lead to data loss.
- Memory Testing: Tests your Mac’s RAM modules for errors.
- Processor Testing: Checks the performance and stability of your CPU.
- SMART Monitoring: Monitors the SMART status of your hard drives and SSDs, providing early warnings of potential failures.
7.2. DriveDx
DriveDx is a specialized utility for monitoring the health of your hard drives and SSDs. It provides detailed information about the drive’s health, including:
- SMART Attributes: Monitors a wide range of SMART attributes, providing early warnings of potential drive failures.
- Temperature Monitoring: Tracks the drive’s temperature, helping you identify potential cooling issues.
- Performance Monitoring: Monitors the drive’s performance, identifying potential bottlenecks.
7.3. iStat Menus
iStat Menus is a system monitoring tool that provides real-time information about your Mac’s hardware and software. It can display:
- CPU Usage: Shows the current CPU usage, helping you identify processes that are consuming excessive resources.
- Memory Usage: Displays the amount of RAM being used by your Mac.
- Disk Usage: Shows the amount of storage space being used on your hard drives and SSDs.
- Network Activity: Monitors network activity, helping you identify potential network issues.
- Temperature Sensors: Displays the temperature of various components inside your Mac.
- Fan Speeds: Shows the speed of your Mac’s cooling fans.
8. Common Myths About Mac Hardware Diagnostics
There are several misconceptions about Mac hardware diagnostics that can lead to confusion and incorrect troubleshooting. Understanding these myths can help you use the diagnostic tools more effectively.
8.1. Myth: Mac Hardware Diagnostics Can Fix All Hardware Problems
Fact: While Mac hardware diagnostics can identify many hardware issues, it cannot fix them. The tool helps pinpoint the problem, but repairs often require replacing faulty components or seeking professional help.
8.2. Myth: Running Diagnostics Frequently Will Prevent Hardware Failures
Fact: Running diagnostics frequently does not prevent hardware failures. However, regular checks can help detect problems early, allowing you to address them before they escalate.
8.3. Myth: All Reference Codes Indicate Serious Problems
Fact: Not all reference codes indicate serious problems. Some codes may indicate minor issues that can be resolved with simple troubleshooting steps, such as restarting your Mac or checking connections.
8.4. Myth: Third-Party Diagnostic Tools Are Always Better Than Apple Diagnostics
Fact: Both Apple Diagnostics and third-party tools have their strengths and weaknesses. Apple Diagnostics is built-in and easy to use, while third-party tools often offer more advanced features and detailed information. The best tool depends on your specific needs and technical expertise.
9. Case Studies: Real-World Examples of Mac Hardware Diagnostic Use
Examining real-world examples of how Mac hardware diagnostics have been used can provide valuable insights into its effectiveness and practical applications.
9.1. Case Study 1: Identifying a Faulty RAM Module
Scenario: A user experiences frequent crashes and freezes on their Mac.
Diagnostic Process: The user runs Apple Diagnostics, which returns the reference code MMT001, indicating a memory module issue.
Solution: The user reseats the RAM modules but the problem persists. They then replace the faulty RAM module, resolving the crashes and freezes.
Outcome: The user successfully identifies and fixes the hardware issue, preventing further data loss and system downtime.
9.2. Case Study 2: Diagnosing a Failing Hard Drive
Scenario: A user notices their Mac is running slowly and applications are taking a long time to load.
Diagnostic Process: The user runs Apple Diagnostics, which returns the reference code NDR001, indicating a storage device issue.
Solution: The user uses a third-party tool like DriveDx to further investigate the hard drive’s health. The tool reveals that the drive has a high number of bad sectors and is likely to fail soon. The user replaces the hard drive with an SSD.
Outcome: The user successfully identifies the failing hard drive and replaces it, improving their Mac’s performance and preventing potential data loss.
9.3. Case Study 3: Resolving Overheating Issues
Scenario: A user’s Mac is overheating and shutting down unexpectedly.
Diagnostic Process: The user runs Apple Diagnostics, which returns the reference code PFM006, indicating an overheating issue.
Solution: The user cleans the Mac’s cooling fans and ensures proper ventilation. They also monitor the system temperature using iStat Menus.
Outcome: The user successfully resolves the overheating issue by cleaning the cooling fans and improving ventilation, preventing further shutdowns and potential hardware damage.
10. FAQ: Addressing Common Questions About Mac Hardware Diagnostic
Here are some frequently asked questions about Mac hardware diagnostics, along with detailed answers to help you better understand and use the tool.
10.1. What Kind of Hardware Issues Can Apple Diagnostics Detect?
Apple Diagnostics can detect a wide range of hardware issues, including problems with the processor, memory, storage devices, graphics card, logic board, and connectivity components.
10.2. How Often Should I Run Apple Diagnostics?
You should run Apple Diagnostics whenever you experience unusual behavior or suspect a hardware issue with your Mac. Regular checks can help identify problems early.
10.3. Can Apple Diagnostics Damage My Mac?
No, Apple Diagnostics is designed to be safe to use and will not damage your Mac. However, it’s important to follow the instructions carefully and ensure your Mac is properly prepared for the test.
10.4. What Should I Do If Apple Diagnostics Doesn’t Find Any Issues?
If Apple Diagnostics doesn’t find any issues but you’re still experiencing problems, consider using third-party diagnostic tools or seeking professional help from an Apple Authorized Service Provider.
10.5. Do I Need an Internet Connection to Run Apple Diagnostics?
An internet connection is not always required to run Apple Diagnostics. However, some features, such as accessing Apple Support resources, may require an active network connection.
10.6. Can I Run Apple Diagnostics from a Bootable USB Drive?
No, Apple Diagnostics is built into the Mac’s firmware and cannot be run from a bootable USB drive.
10.7. Is Apple Hardware Test the Same as Apple Diagnostics?
Yes, Apple Hardware Test was the previous name for Apple Diagnostics. The tool has been renamed but the functionality remains the same.
10.8. Can I Use Apple Diagnostics on Older Mac Models?
Yes, Apple Diagnostics can be used on older Mac models, but the specific steps for starting the tool may vary. Refer to Apple’s support documentation for instructions on running diagnostics on your specific Mac model.
10.9. How Long Does Apple Diagnostics Take to Run?
The duration of the Apple Diagnostics test can vary depending on the Mac model and the components being tested. Typically, it takes between 5 to 30 minutes to complete.
10.10. Where Can I Find More Information About Apple Diagnostics Reference Codes?
You can find more information about Apple Diagnostics reference codes on Apple Support’s website or by contacting Apple Support directly.
By understanding these key aspects of Mac hardware diagnostic, you can effectively maintain your Mac and address any hardware issues that may arise. Remember, regular maintenance and timely diagnostics are essential for keeping your Mac running smoothly and reliably.
Are you finding it difficult to source reliable information on auto parts and repair tools? Do you struggle with comparing prices and features of different repair tools? Are you unsure about the durability and effectiveness of new tools?
Visit CAR-TOOL.EDU.VN today for detailed information on auto parts, tool comparisons, user reviews, and trusted suppliers. Let us help you make informed decisions and keep your Mac and your automotive tools in top condition.
Contact us at:
- Address: 456 Elm Street, Dallas, TX 75201, United States
- WhatsApp: +1 (641) 206-8880
- Website: CAR-TOOL.EDU.VN
Get in touch now and let our experts guide you!