Apple Diagnostics is a powerful tool to identify potential hardware problems on your Mac. In this comprehensive guide from CAR-TOOL.EDU.VN, we’ll explore How To Run Apple Diagnostics, interpret the results, and troubleshoot common issues, ensuring you can quickly diagnose and resolve Mac hardware concerns. Discover valuable insights into Mac diagnostics and ensure your system runs smoothly with these powerful troubleshooting techniques.
Contents
- 1. What is Apple Diagnostics and Why is it Important?
- 2. Who Benefits from Running Apple Diagnostics?
- 3. When Should You Run Apple Diagnostics?
- 4. How to Prepare Your Mac Before Running Apple Diagnostics?
- 5. How to Start Apple Diagnostics on Different Mac Models?
- 5.1. Starting Apple Diagnostics on Macs with Apple Silicon
- 5.2. Starting Apple Diagnostics on Intel-Based Macs
- 6. What to Do If Apple Diagnostics Doesn’t Start?
- 7. Understanding the Apple Diagnostics Interface
- 8. How to Interpret Apple Diagnostics Results?
- 8.1. Common Apple Diagnostics Reference Codes
- 8.2. Understanding the Severity of Diagnostic Results
- 9. Steps to Take After Receiving Diagnostic Results
- 10. What is the cost to run Apple Diagnostics?
- 11. How to Contact Apple Support for Further Assistance?
- 12. Preventative Measures to Avoid Hardware Issues
- 13. Advanced Troubleshooting Techniques
- 14. Apple Diagnostics vs. Third-Party Diagnostic Tools
- 15. Common Myths About Mac Hardware Issues
- 16. The Role of CAR-TOOL.EDU.VN in Mac Hardware Diagnostics
- 17. Case Studies: Real-World Examples of Using Apple Diagnostics
- 17.1. Case Study 1: Identifying a Faulty RAM Module
- 17.2. Case Study 2: Diagnosing a Failing Hard Drive
- 17.3. Case Study 3: Resolving Power Management Issues
- 18. How to Properly Dispose of Old or Faulty Mac Hardware?
- 19. The Future of Mac Hardware Diagnostics
- 20. Resources for Further Learning
- 21. Conclusion: Empowering Mac Users with Diagnostic Knowledge
- FAQ: Frequently Asked Questions About Running Apple Diagnostics
- 22.1. Can Apple Diagnostics detect all hardware issues?
- 22.2. Does running Apple Diagnostics erase my data?
- 22.3. What does it mean if Apple Diagnostics finds no issues?
- 22.4. Can I run Apple Diagnostics on an external drive?
- 22.5. How long does Apple Diagnostics take to complete?
- 22.6. What should I do if I get a reference code I don’t understand?
- 22.7. Can I run Apple Diagnostics from the Terminal?
- 22.8. Is Apple Diagnostics available on older Macs?
- 22.9. What are the limitations of Apple Diagnostics?
- 22.10. How often should I run Apple Diagnostics?
1. What is Apple Diagnostics and Why is it Important?
Apple Diagnostics is a built-in utility on Macs that tests the hardware components for any malfunctions. According to a study by Rescuecom, hardware failures can account for a significant percentage of computer issues, making diagnostics essential. This tool helps users identify issues like RAM failures, logic board problems, or storage drive errors early on, which can prevent more significant damage and data loss. Using Apple Diagnostics can save time and money by accurately pinpointing the source of the issue before seeking professional repair.
2. Who Benefits from Running Apple Diagnostics?
Apple Diagnostics is beneficial for several groups:
- Mac Users: Home users can quickly assess their Mac’s health.
- IT Professionals: IT staff in organizations can use it to diagnose hardware issues on company Macs.
- Technicians: Repair technicians utilize it to identify faulty components accurately.
- Students: Students relying on Macs for studies can ensure their devices are functioning correctly.
3. When Should You Run Apple Diagnostics?
Run Apple Diagnostics when you experience any of the following:
- Unexpected shutdowns or restarts: This can indicate hardware instability.
- Kernel panics: These are often due to hardware or driver issues.
- Slow performance: Persistent sluggishness may stem from failing hardware.
- Startup problems: If your Mac fails to boot correctly.
- Display issues: Such as distorted graphics or screen artifacts.
4. How to Prepare Your Mac Before Running Apple Diagnostics?
Preparation is vital for accurate results. Here are steps to prepare:
- Update macOS: Ensure your macOS is up to date. Apple frequently releases updates that improve hardware compatibility and diagnostic capabilities. According to Apple’s support documentation, keeping your software current helps prevent false positives during diagnostics.
- Shut Down Your Mac: Completely power off your Mac before starting the diagnostic process.
- Disconnect Peripherals: Remove all external devices except the keyboard, mouse, display, Ethernet connection (if needed), and power connection. External devices can sometimes interfere with diagnostic tests.
- Ensure Proper Ventilation: Place your Mac on a hard, flat surface with good ventilation. Overheating can skew test results, as noted by iFixit’s hardware troubleshooting guides.
5. How to Start Apple Diagnostics on Different Mac Models?
The process varies depending on whether your Mac has Apple silicon or an Intel processor.
5.1. Starting Apple Diagnostics on Macs with Apple Silicon
- Press and Hold the Power Button: Press and hold the power button (or Touch ID button on laptops) until the startup options appear.
- Access Startup Options: Continue holding the power button until you see “Loading startup options.”
- Initiate Diagnostics: Press and hold Command (⌘)-D on your keyboard. This action starts Apple Diagnostics.
5.2. Starting Apple Diagnostics on Intel-Based Macs
- Turn On Your Mac: Power on your Mac.
- Press and Hold the ‘D’ Key: Immediately press and hold the D key on your keyboard as your Mac starts.
- Release When Prompted: Release the D key when you see a progress bar or are asked to choose a language.
If the D key doesn’t work, try holding Option (⌥)-D at startup. This alternative method forces the Mac to use the diagnostics over the internet, as explained in Apple’s support articles. If neither works, consult Apple’s guidelines for using key combinations at startup.
6. What to Do If Apple Diagnostics Doesn’t Start?
If you encounter issues starting Apple Diagnostics, consider these troubleshooting steps:
- Check Keyboard Functionality: Ensure your keyboard is functioning correctly. Try a different keyboard to rule out keyboard issues.
- Reset SMC: Resetting the System Management Controller (SMC) can resolve startup issues, as detailed in Apple’s support documentation.
- Try Internet Recovery: Use Option (⌥)-Command (⌘)-R at startup to boot into Internet Recovery and run diagnostics from there.
- Check Firmware: Ensure your Mac’s firmware is up to date, as outdated firmware can cause issues with diagnostics.
7. Understanding the Apple Diagnostics Interface
After starting Apple Diagnostics, you may be asked to choose a language. Make sure you have an active network connection, as this can be required for some tests. Use the Wi-Fi menu in the upper-right corner to connect to a network.
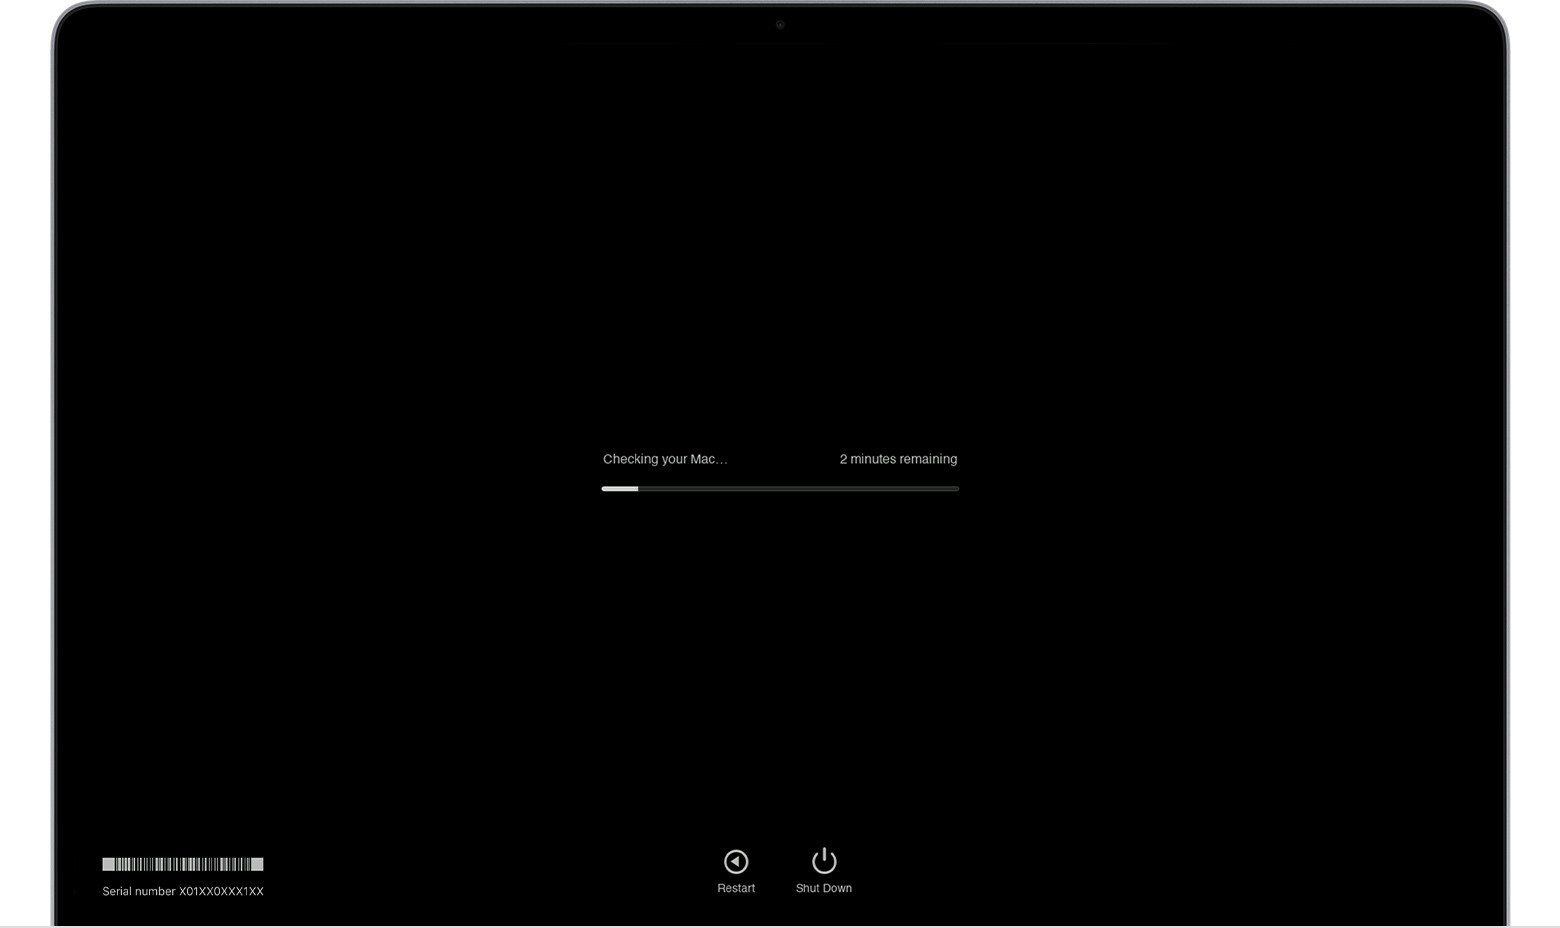 macos Diagnostics running progress bar
8. How to Interpret Apple Diagnostics Results?
Apple Diagnostics displays a progress bar during the test. Once completed, it shows the results, which may include reference codes. These codes indicate specific hardware issues.
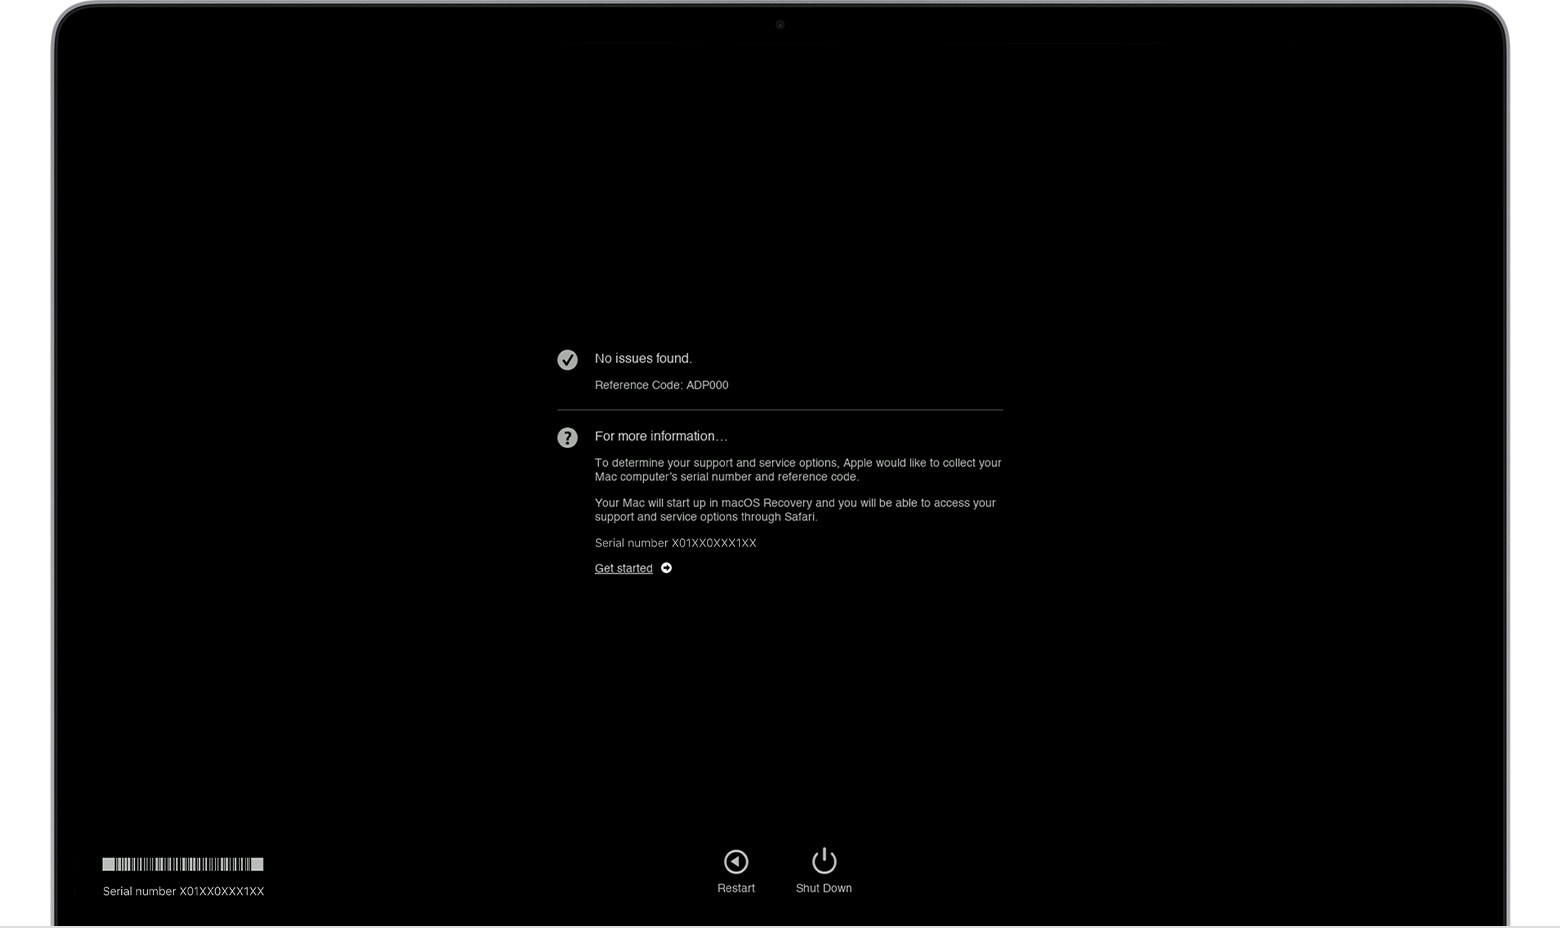 macos Diagnostics results. No issues found.
8.1. Common Apple Diagnostics Reference Codes
Understanding these codes is crucial for effective troubleshooting. Here are some common reference codes and their meanings:
| Code | Description | Possible Solutions |
|---|---|---|
| ADP000 | No issues found. | None needed. |
| NDx001 | Problem with flash storage. | Back up your data and consider replacing the storage drive. |
| VFD001-VFD007 | Problem with the video card. | Restart your Mac. If the problem persists, contact Apple Support. |
| HDD001-HDD007 | Problem with the hard drive. | Repair the disk using Disk Utility. If that doesn’t work, back up your data and replace the drive. |
| PFM001-PFM007 | Problem with the system’s power management. | Reset the SMC. If the problem persists, contact Apple Support. |
| MEM001-MEM007 | Problem with the memory modules (RAM). | Ensure RAM modules are properly seated. Try testing with one module at a time. Replace faulty modules. |
| PPT001-PPT007 | Problem with the processor. | Contact Apple Support. |
| SMT001-SMT007 | Problem with the logic board. | Contact Apple Support. |
| NNN001 | No network connection. | Check your network connection and try again. |
| NDR001, NDR003, NDR004 | Problem with the network card. | Restart your Mac. If the problem persists, contact Apple Support. |
| TCP001-TCP007 | Problem with the Thunderbolt port. | Try a different Thunderbolt cable or device. If the problem persists, contact Apple Support. |
| USB001-USB007 | Problem with the USB port. | Try a different USB cable or device. If the problem persists, contact Apple Support. |
| Fan001-Fan004 | Problem with the cooling fan. | Clean the fan vents. If the problem persists, contact Apple Support. |
| Thm001-Thm004 | Problem with the thermal sensor. | Ensure proper ventilation. If the problem persists, contact Apple Support. |
| MMI001 | Unable to start up. | Contact Apple Support. |
| BAT001-BAT007 | Problem with the battery. | Check battery health in System Information. If the battery is degraded, consider replacing it. |
| Bluetooth000 | Problem with the Bluetooth module. | Restart your Mac and Bluetooth devices. Reset the Bluetooth module. If the problem persists, contact Apple Support. |
| Camera000 | Problem with the camera. | Restart your Mac. Check camera permissions in System Preferences. If the problem persists, contact Apple Support. |
| Display000 | Problem with the display. | Check display connections. Restart your Mac. If the problem persists, contact Apple Support. |
| Mic000 | Problem with the microphone. | Restart your Mac. Check microphone permissions in System Preferences. If the problem persists, contact Apple Support. |
| Speaker000 | Problem with the speaker. | Restart your Mac. Check the volume settings. If the problem persists, contact Apple Support. |
8.2. Understanding the Severity of Diagnostic Results
The reference codes provided by Apple Diagnostics can range from minor issues to critical failures. Here’s a breakdown of how to assess the severity of different codes:
-
No Issues Found (ADP000): This is the best-case scenario. It indicates that Apple Diagnostics did not detect any hardware problems during the test. While it’s reassuring, keep in mind that diagnostics might not catch every intermittent issue. If you are still experiencing problems, further investigation might be necessary.
-
Minor Issues (e.g., Fan00x, Thm00x): These codes often indicate problems with cooling components, such as fans or thermal sensors. While not immediately critical, these issues can lead to overheating and potential performance degradation over time. Monitor your Mac’s temperature and ensure proper ventilation. Cleaning the fan vents or reapplying thermal paste might resolve these problems.
-
Storage-Related Issues (NDx001, HDD00x): Codes related to flash storage or hard drives are more serious. Data loss is a significant risk with storage failures, so immediate action is required. Back up your data as soon as possible. If the diagnostics indicate a failing drive, consider replacing it promptly to avoid data loss.
-
Memory-Related Issues (MEM00x): Memory problems can cause a variety of issues, including system crashes, kernel panics, and data corruption. Ensure that your RAM modules are properly seated. If you have multiple modules, try testing with one module at a time to identify the faulty one. Replacing faulty memory modules is crucial for system stability.
-
Power and Logic Board Issues (PFM00x, SMT00x): These are among the most severe diagnostic results. Power management issues can lead to unexpected shutdowns and system instability, while logic board problems can affect nearly every aspect of your Mac’s functionality. These issues often require professional repair and can be costly to fix. Contact Apple Support or an authorized service provider for assistance.
-
Connectivity Issues (NNN001, NDR00x, TCP00x, USB00x): Issues with network cards, Thunderbolt ports, or USB ports can be disruptive but are often less critical than core component failures. Try troubleshooting by checking cables, testing with different devices, and restarting your Mac. If the problem persists, it may indicate a hardware fault that requires repair.
-
Peripheral Issues (Bluetooth000, Camera000, Display000, Mic000, Speaker000): These codes point to problems with specific peripherals like Bluetooth, cameras, displays, microphones, or speakers. While inconvenient, these issues typically don’t affect the core functionality of your Mac. Troubleshooting steps include restarting your Mac, checking connections, and verifying permissions in System Preferences.
9. Steps to Take After Receiving Diagnostic Results
After reviewing the diagnostic results, follow these steps:
- Note the Reference Codes: Record all reference codes provided by Apple Diagnostics.
- Consult Apple Support: Visit Apple’s support website or contact them directly for detailed information on each code.
- Perform Basic Troubleshooting: Try simple fixes like restarting your Mac, checking connections, and updating software.
- Back Up Your Data: If the diagnostics indicate a potential hardware failure, back up your data immediately.
- Seek Professional Help: For complex issues, consult an authorized Apple service provider or a qualified Mac repair technician.
10. What is the cost to run Apple Diagnostics?
Apple Diagnostics is a free tool, so there is no direct cost associated with running the tests. However, if the diagnostics reveal a hardware issue that requires repair, the cost will depend on the specific problem and whether your Mac is covered by warranty or AppleCare+.
11. How to Contact Apple Support for Further Assistance?
If you need additional help, contact Apple Support through these methods:
- Apple Support Website: Visit Apple Support for online resources and troubleshooting guides.
- Apple Support App: Use the Apple Support app on your iOS device to chat with a support representative or schedule a call.
- Apple Store: Visit an Apple Store for in-person support and repairs.
- Authorized Service Provider: Find an authorized service provider in your area for certified repairs.
12. Preventative Measures to Avoid Hardware Issues
Preventing hardware issues can save time and money in the long run. Consider these measures:
- Regular Maintenance: Clean your Mac regularly, including vents and ports, to prevent overheating and dust accumulation.
- Proper Ventilation: Ensure your Mac has adequate ventilation to prevent overheating.
- Surge Protection: Use a surge protector to protect your Mac from power surges.
- Avoid Extreme Temperatures: Avoid exposing your Mac to extreme temperatures, as this can damage components.
- Software Updates: Keep your macOS and applications up to date to ensure compatibility and stability.
13. Advanced Troubleshooting Techniques
For advanced users, consider these techniques:
- Using Apple Service Diagnostics (ASD): ASD is a more comprehensive diagnostic tool used by Apple technicians. It requires special access and is not available to the general public.
- Analyzing System Logs: Review system logs for detailed error messages that can provide clues about hardware issues. Use the Console app to view logs.
- Hardware Teardowns: Consult iFixit’s guides for hardware teardowns and repair instructions. However, proceed with caution, as disassembling your Mac can void the warranty.
14. Apple Diagnostics vs. Third-Party Diagnostic Tools
While Apple Diagnostics is a valuable tool, third-party diagnostic utilities offer additional features. Here’s a comparison:
| Feature | Apple Diagnostics | Third-Party Tools (e.g., TechTool Pro) |
|---|---|---|
| Cost | Free | Paid |
| Ease of Use | Very Easy | Moderate |
| Hardware Coverage | Basic | Comprehensive |
| Advanced Features | No | Yes (e.g., data recovery) |
| User Interface | Simple | Advanced |
| Customization Options | Limited | Extensive |
| Target Audience | General Users | Advanced Users, Technicians |
15. Common Myths About Mac Hardware Issues
- Myth: Macs don’t get viruses.
- Fact: While Macs are generally more secure than Windows PCs, they are still vulnerable to malware.
- Myth: Upgrading RAM always improves performance.
- Fact: Upgrading RAM improves performance only if your system is frequently running out of memory.
- Myth: Macs never need maintenance.
- Fact: Macs require regular maintenance, such as cleaning vents and updating software, to ensure optimal performance.
16. The Role of CAR-TOOL.EDU.VN in Mac Hardware Diagnostics
CAR-TOOL.EDU.VN offers comprehensive resources for Mac hardware diagnostics. Our website provides:
- Detailed Guides: Step-by-step instructions on running and interpreting Apple Diagnostics.
- Troubleshooting Tips: Practical advice for resolving common hardware issues.
- Product Reviews: In-depth reviews of third-party diagnostic tools and hardware components.
- Community Support: A forum where users can ask questions and share their experiences.
17. Case Studies: Real-World Examples of Using Apple Diagnostics
17.1. Case Study 1: Identifying a Faulty RAM Module
Scenario: A user experienced frequent kernel panics on their iMac.
Action: The user ran Apple Diagnostics, which returned the MEM005 code, indicating a problem with the RAM.
Solution: The user replaced the faulty RAM module, resolving the kernel panics.
Impact: The user saved hundreds of dollars by diagnosing and fixing the issue themselves, avoiding costly repair fees.
17.2. Case Study 2: Diagnosing a Failing Hard Drive
Scenario: A user’s MacBook Pro was running very slowly and occasionally freezing.
Action: Apple Diagnostics returned the HDD001 code, indicating a problem with the hard drive.
Solution: The user backed up their data and replaced the failing hard drive with a new SSD.
Impact: The user not only resolved the performance issues but also significantly improved the speed and responsiveness of their MacBook Pro.
17.3. Case Study 3: Resolving Power Management Issues
Scenario: A user’s MacBook Air was experiencing unexpected shutdowns.
Action: Apple Diagnostics returned a PFM006 code, indicating a problem with power management.
Solution: The user reset the SMC, resolving the issue.
Impact: The user avoided a potentially expensive repair by addressing the power management issue with a simple reset.
18. How to Properly Dispose of Old or Faulty Mac Hardware?
Proper disposal of old or faulty Mac hardware is essential for environmental responsibility. Here are the guidelines:
- Recycle: Take your old Mac to an Apple Store or an authorized recycling center.
- Data Sanitization: Before recycling, ensure your data is securely wiped using disk formatting tools or specialized data destruction services.
- Battery Disposal: Dispose of batteries separately at designated recycling facilities, as they contain hazardous materials.
19. The Future of Mac Hardware Diagnostics
The future of Mac hardware diagnostics is likely to involve more advanced AI-driven tools. These tools will provide:
- Predictive Diagnostics: AI algorithms can analyze system logs and performance data to predict potential hardware failures before they occur.
- Automated Troubleshooting: AI-driven diagnostic tools can automatically identify and resolve common hardware issues without user intervention.
- Enhanced Remote Diagnostics: Remote diagnostic capabilities will improve, allowing technicians to diagnose and repair Macs remotely.
20. Resources for Further Learning
- Apple Support: Apple Support Website
- iFixit: iFixit Website
- Apple Diagnostics Reference Codes: Apple Diagnostics Reference Codes
- MacRumors Forums: MacRumors Forums
- YouTube Tutorials: Search YouTube for tutorials on running and interpreting Apple Diagnostics.
21. Conclusion: Empowering Mac Users with Diagnostic Knowledge
Understanding how to run Apple Diagnostics and interpret the results is an essential skill for every Mac user. By following the guidelines in this article, you can quickly diagnose and resolve hardware issues, ensuring your Mac remains reliable and efficient. Remember to visit CAR-TOOL.EDU.VN for more in-depth resources and expert advice on Mac hardware diagnostics.
FAQ: Frequently Asked Questions About Running Apple Diagnostics
22.1. Can Apple Diagnostics detect all hardware issues?
Apple Diagnostics is a useful tool, but it might not catch every hardware problem. Some intermittent or subtle issues may not be detected. For comprehensive testing, consider using third-party diagnostic tools.
22.2. Does running Apple Diagnostics erase my data?
No, running Apple Diagnostics does not erase your data. It only tests the hardware components of your Mac. However, it is always a good practice to back up your data regularly in case of hardware failure.
22.3. What does it mean if Apple Diagnostics finds no issues?
If Apple Diagnostics finds no issues, it means that the tool did not detect any hardware problems during the test. However, it does not guarantee that your Mac is entirely free of issues. If you are still experiencing problems, consider further troubleshooting or consulting a technician.
22.4. Can I run Apple Diagnostics on an external drive?
No, Apple Diagnostics tests the internal hardware components of your Mac. It cannot be used to diagnose external drives directly. However, you can use Disk Utility to check the health of external drives.
22.5. How long does Apple Diagnostics take to complete?
Apple Diagnostics typically takes a few minutes to complete. The exact time depends on the Mac model and the components being tested.
22.6. What should I do if I get a reference code I don’t understand?
Consult Apple’s support documentation or contact Apple Support for detailed information on each reference code. The Apple Support website provides explanations and troubleshooting steps for most codes.
22.7. Can I run Apple Diagnostics from the Terminal?
No, Apple Diagnostics does not have a Terminal command. It must be started using the key combinations at startup.
22.8. Is Apple Diagnostics available on older Macs?
Older Macs use a similar tool called Apple Hardware Test. The process for starting Apple Hardware Test is similar to Apple Diagnostics, but the interface and reference codes may differ.
22.9. What are the limitations of Apple Diagnostics?
Apple Diagnostics provides a basic assessment of your Mac’s hardware. It might not detect every issue and does not offer advanced features like data recovery or detailed system analysis.
22.10. How often should I run Apple Diagnostics?
Run Apple Diagnostics whenever you experience unusual behavior, such as frequent crashes, slow performance, or startup issues. Regular checks can help identify potential problems early.
Are you encountering difficulties in locating reliable and high-quality auto parts? Do you find yourself spending excessive amounts of time comparing prices and features of different repair tools? Are you uncertain about the durability and effectiveness of new equipment? Do you crave information and assessments from individuals who have firsthand experience with these products? At CAR-TOOL.EDU.VN, we understand these challenges and offer tailored services to meet your needs. We provide detailed specifications, brand comparisons, and user reviews to help you make informed decisions.
Contact us today for expert guidance on selecting the perfect auto parts and repair tools! Reach us at 456 Elm Street, Dallas, TX 75201, United States. Call or message us on Whatsapp at +1 (641) 206-8880, or visit our website at CAR-TOOL.EDU.VN.